Hair Diffraction Calculator
What if I told you that, with the hair diffraction calculator, you could use light to measure the width of one of your hairs? Sounds like magic? Maybe it requires a superpower? No, it's just physics! Nothing to be scared of, we have created a calculator, a , and the best explanation on the web to help you understand what diffraction is and how to harvest the (super)power of lasers from the comfort of your own home!
Let's be honest, the most boring part of science is doing the calculations. The stories, the strange phenomena, and the super-cool uses of common items are what we all want and love. And that's why we've made this calculator at Omni; you can calculate the width of your hair, learn about the physics behind it... and never have to do any calculation (if you don't want to). So come on in, learn about the most famous experiment in physics, and how to measure your own hair with a laser pointer!
Prefer watching rather than reading? Learn all you need with this video we made for you:
Creating a (hair) diffraction pattern to measure distance
As counter-intuitive as it sounds, one of the most precise ways of measuring a distance is to use light, in particular lasers. And, though you can use the fanciest, most expensive equipment in the world, all you really need are things you can buy in any big store.
A laser pointer will be our source of light, a measuring tape or a ruler will help us with the rough measuring we need to do, and a hair, which is kind of important if you want to measure the width of a hair (we think that's obvious). You should also grab some kind of sticky tape and maybe a piece of paper and a marker for convenience.

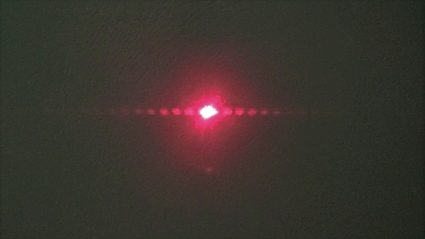
Shine the laser at the hair and observe the "shadow" it makes on the wall. You will see it is not a shadow, but rather a dash-line formed by bright and dark spots. Shocking, right? This is what physicists call a diffraction pattern. We will explain why this happens later, but for now, just measure the distance between the central brightest spot to the first dark spot in the pattern. It doesn't really matter if you choose the one on the right or the left; science is not politics 😜
And yeah, that's all you need to do to measure the width of the hair. To obtain the desired value, you can either find the equation (hint: keep reading to find it) or save yourself some time and hassle by simply using the Omni calculator to your left.
💡 Do you know which laser pointer color is the brightest? Check our laser brightness calculator to find out!
Don't be a cave person – use the hair diffraction calculator!
Let's start with the easiest and most sensible option: using the hair diffraction calculator. We will have time later to bury ourselves in the experiment's math and geometry, but if all we want is to measure stuff, we can just do that.
The first thing you need to do is gather all the data for measuring the width of the hair. You will need the following:
-
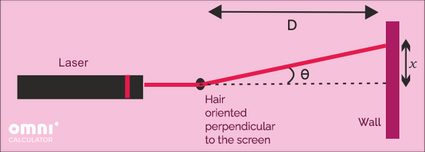
The distance from the hair to the wall where you see the diffraction pattern.
-
The wavelength of the laser (it's typically printed on the warning label on the laser itself).
-
(Optional) The position of your black spot (more on this later).
-
The distance from the center of the diffraction pattern to the dark spot you chose.
-
A second to pause and enjoy a job well done!
Notice that we have not even mentioned any formulas or mathematical concepts... because if you only want the number, there's no need to get bogged down in solving equations and remembering how to calculate trigonometric functions.
Most of these values are easy to understand and calculate using the diagram and the calculator. If you are having trouble, remember that you can also refer to the video we made, where we also go into more detail explaining the physics behind the experiment. However, the position of the dark spot is something that needs clarification since it is an advanced feature of the calculator that can help us make more precise measurements.
So, in the pattern, there should be several dark spots. Typically, the distance we measure from the center of the pattern to the black spot refers to the first dark spot because the math is much easier. However, the uncertainty or error of such a measurement can be fairly high, making our calculation of the hair width not as precise as we would like.
A simple way to improve our results is to measure the distance to the second or third or fourth or... dark spot instead, bringing the relative error down. If you do so, simply remember to change the position to the correct one in the calculator. The order is shown in the image, with no preference for right or left, unlike some news outlets.
Beyond the numbers: understanding the physics
If there's one thing we love at Omni, is making life easier for everyone; that's why we make calculators, and that's also why we made a video explaining in detail what happens to the light of the laser when it shines on the hair, and how that allows us to measure the width of said hair.
If you want to know all the physics behind the experiment, our video is simply the best way to understand the process. However, for the sake of completion, let's briefly go over the most important concepts. In particular, there are major things at play here: wave interference and Huygens' principle (don't try, you won't be able to pronounce it right, trust us).

So, in short, when the laser hits the hair, every point of the hair becomes a secondary emitter of waves. Due to the experiment's configuration, we can assume that only those waves emitted from the edges of the hair will reach the wall. So far, we have applied the Huygens-Fresnel principle.
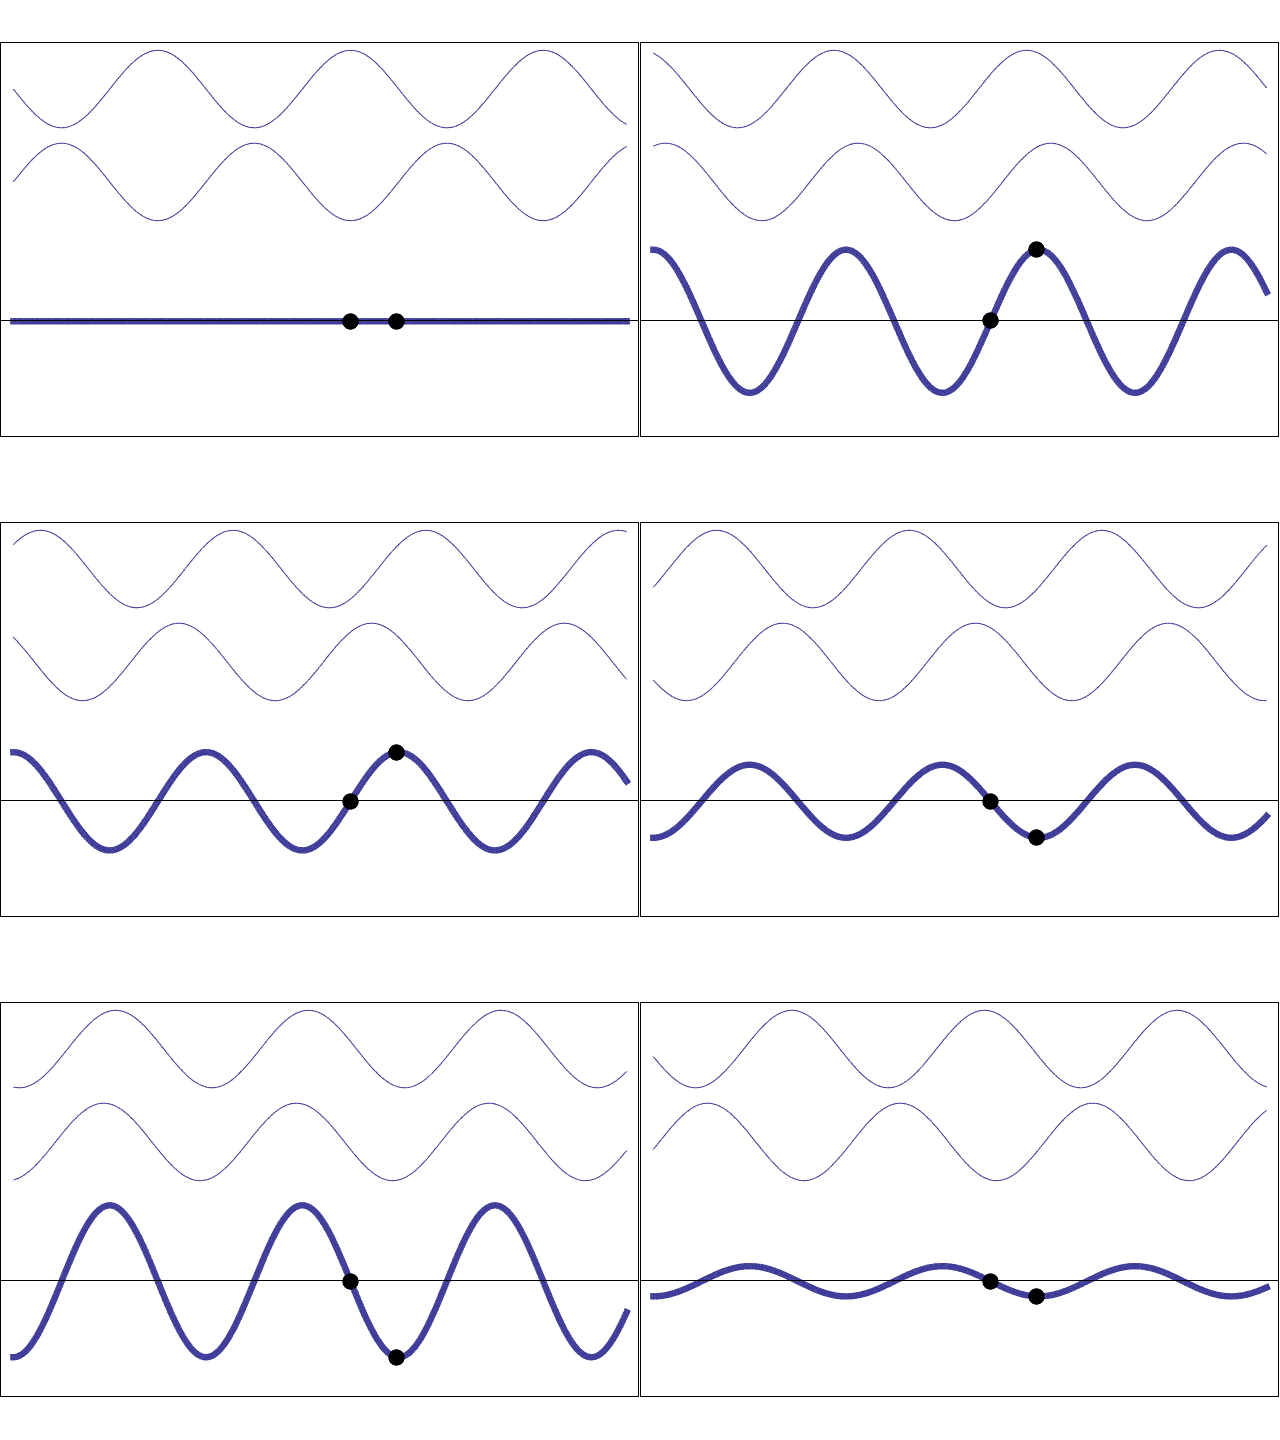
When the waves emitted from slightly different places meet again at the wall, they will be slightly out of phase with each other, so they will produce an interference pattern. Interference is how waves interact, and broadly speaking, there are two types: constructive interference (bright spots) and destructive interference (dark spots) – which is exactly what we see in the wall.
As we mentioned, this is all explained in much greater depth and with nice animations in the video. But what we've seen here is enough to let us jump into the math, equations, and all that fun stuff.
🙋 Hair diffraction is nothing but a special case of the more general phenomenon you can obtain by using a grating. We talked about it in the diffraction grating calculator.
A closer look at the math behind diffraction patterns
They say that "where there's smoke, there's fire", and the same is true for physics and math. Math is the best way to describe physics objectively, and that's why we have to look at it. Destructive interference requires the difference in the path traveled between waves to be an odd multiple of the wavelength (). For constructive interference (bright spots), we would need an integer multiple of that wavelength.

So, if we denote the distance from the hair to the wall with the letter , the width of the hair with , and the distance from the center of the diffraction pattern to the dark spot with we arrive at the following equation:
Where is the position of the dark point we are measuring (typically ) and is the (tiny) angle formed between the lines going from the hair to the center of the diffraction pattern and from the hair to the middle of the dark spot. Because is much, much greater than , the angle is very small and we can use as an almost perfect approximation:
If you want the exact value of , you can use Omni's right triangle calculator. Or you can decide to go old time "stylez" and do it all by hand – it is your choice.
Diffraction patterns show that our world is crazier than science fiction
This might seem like a fun experiment without any Real World™ benefits, but we're here to argue against that. First of all, you have learned about wave interference and Huygens' principle. Those are two of the most important concepts to understand how waves behave.
But, if that is not enough for you, let us point out that this experiment is based on what is, arguably, the most important and famous experiment in the history of science: Youngs' double-slit experiment.
In 1801, Thomas Young wanted to settle once and for all the centuries' debate over the nature of light. Sir Isaac Newton and company believed the light was made out of tiny particles bouncing around, while Christian Huygens and others believed light was, in fact, a wave. To find out the truth, Young took an opaque material and made two very thin slits on it so that only the smallest bit of light would pass through it.
If the light was a wave, it should diffract and create a pattern similar to what we've seen today since (according to Huygens' principle) both slits would become secondary emitters of light and create interferences. According to Newton, however, the light would go through the slits, and create two lines on the screen representing the aperture they went through, just like water passing through individual nozzles on a shower head to create separate streams.
The experiment proved that light is a wave, as the slits created a diffraction pattern behind them. The debate was settled until a young German physicist named Albert Einstein got a Nobel Prize for proving that light was actually, made of particles.
Once again, the reality is weirder than any fiction imaginable. Light is both a particle and a wave. WHAT? In fact, as Louis de Broglie showed at the beginning of the last century, everything can behave both as a wave or as a particle, depending on the situation. The reason we don't diffract when going through a door is that our associated wavelength is much, much bigger than the door. This wavelength associated with every object (but only useful in the quantum realm) is called its de Broglie wavelength, and we teach you how to calculate at the [De Broglie wavelength calculator]!(calc:452).